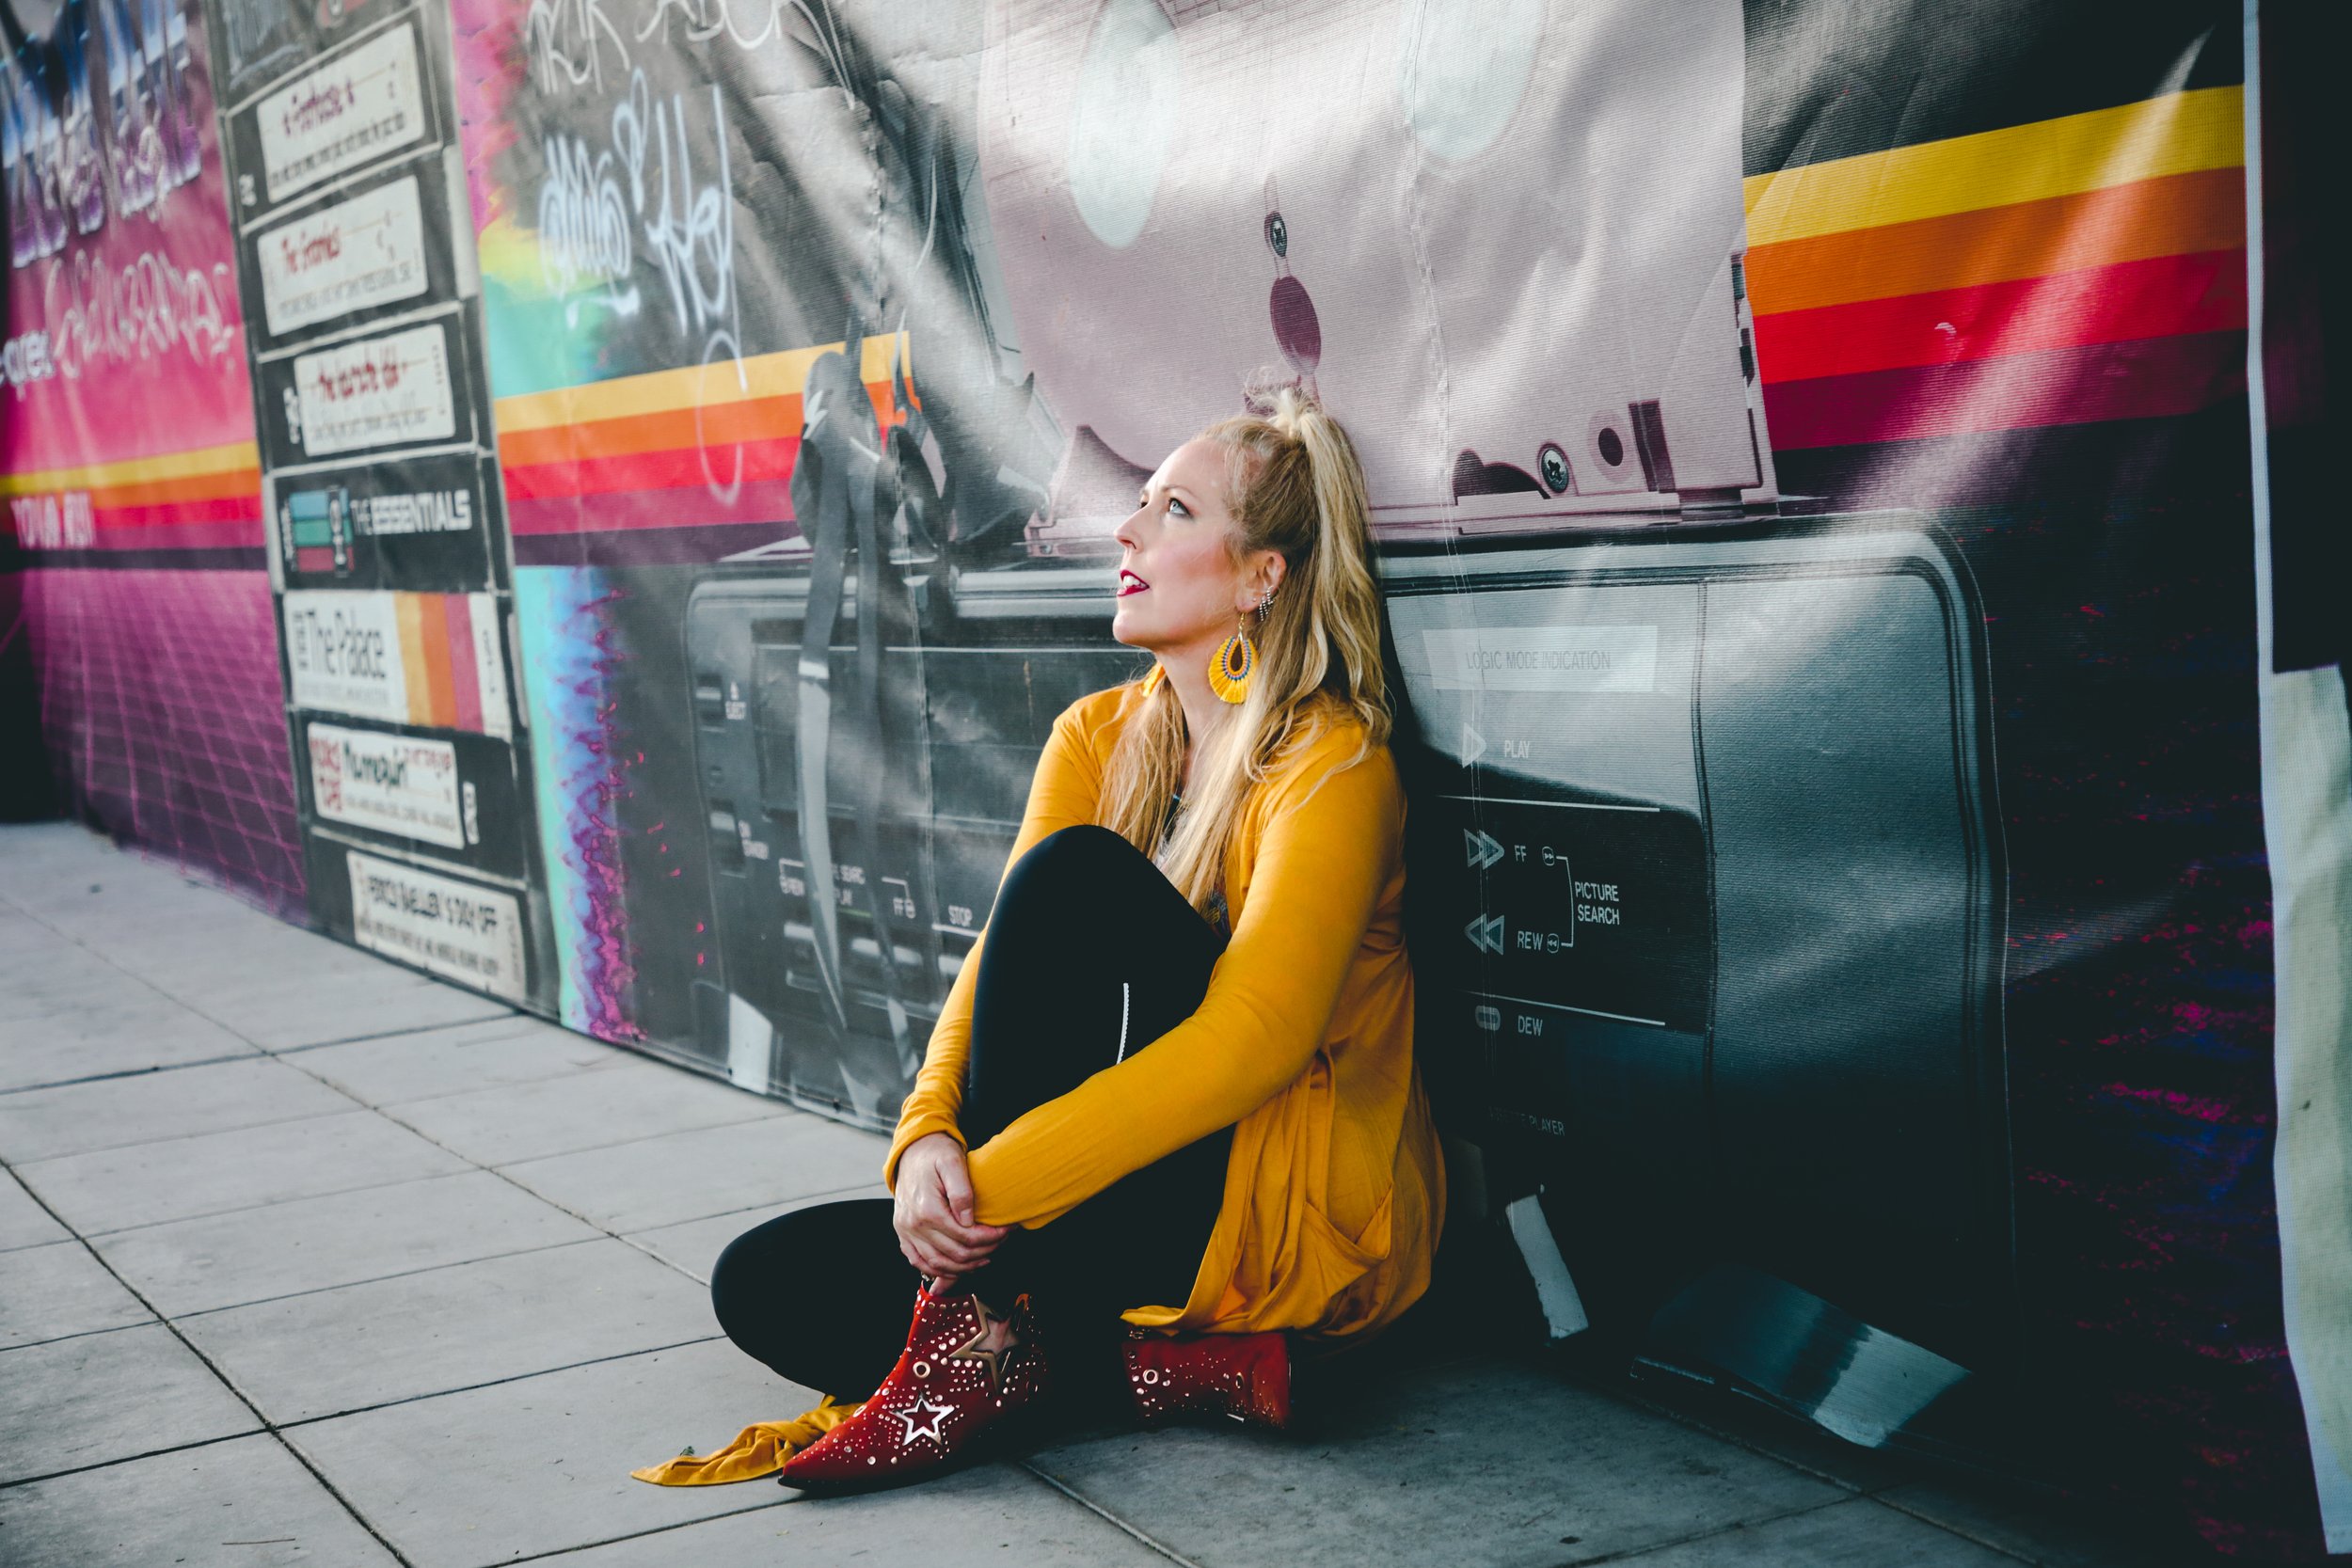
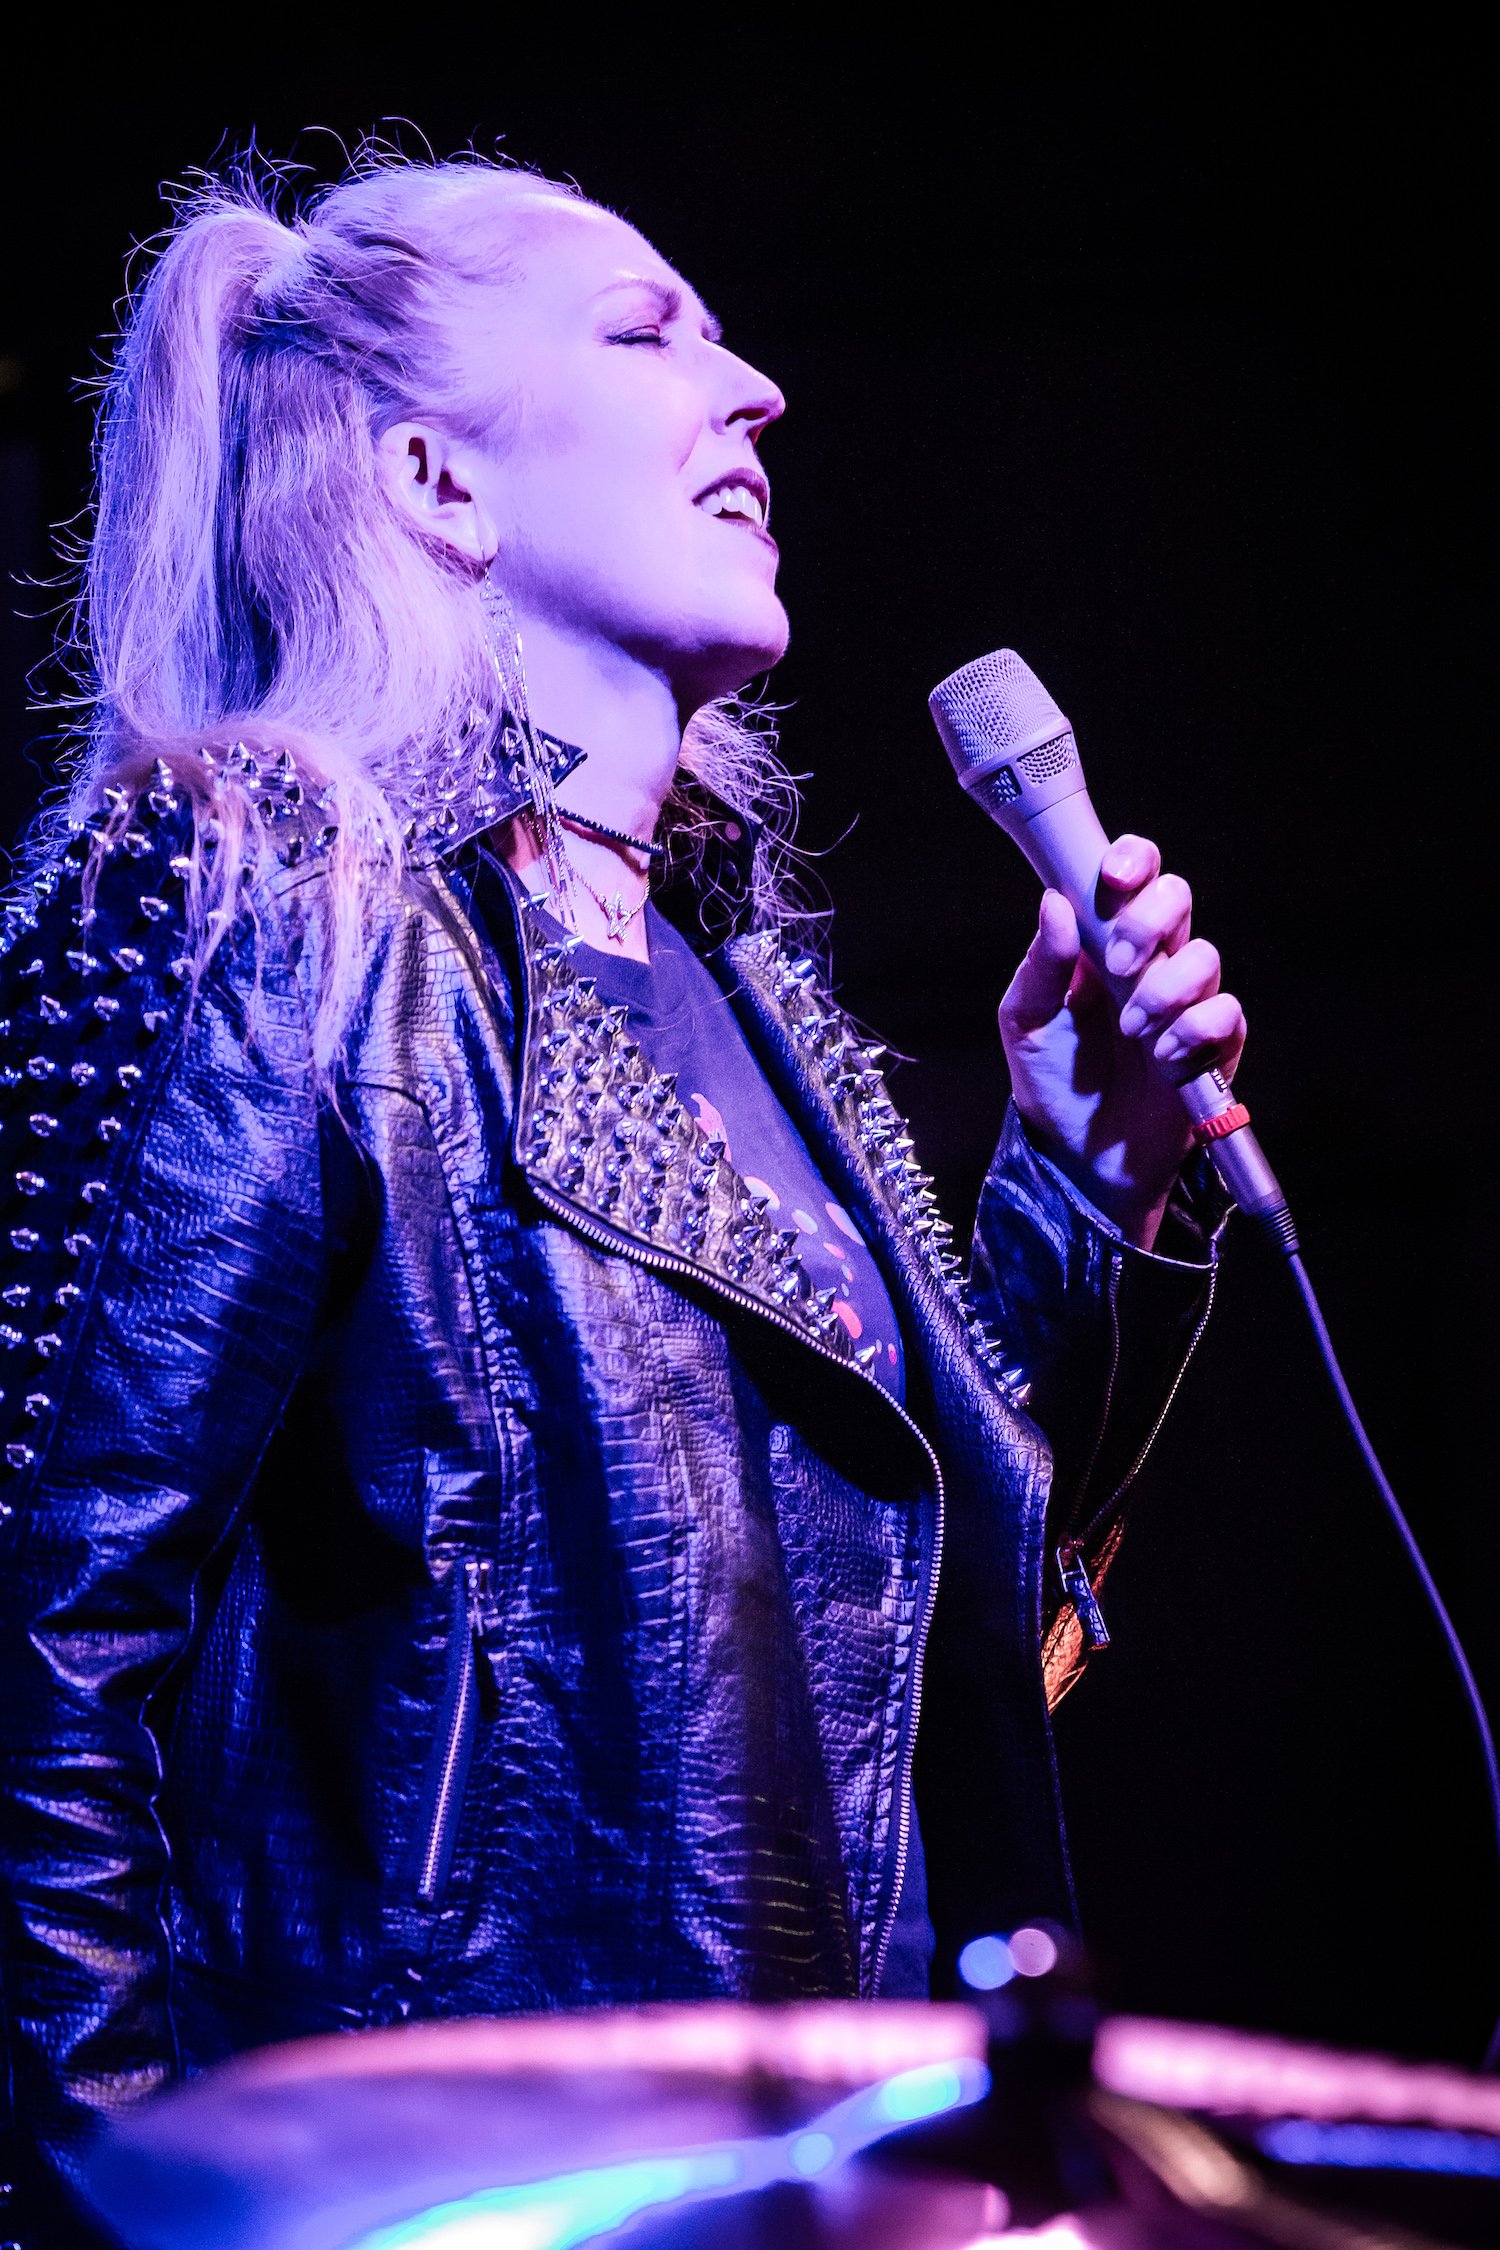


PRESS PHOTOS
Right Click to Download


                    View fullsize
                  
                  ![Photo Credit James DiPietro]() 


                  Photo Credit James DiPietro


                    View fullsize
                  
                  ![Photo Credit James DiPietro]() 


                  Photo Credit James DiPietro


                    View fullsize
                  
                  ![Photo Credit Andy King]() 


                  Photo Credit Andy King


                    View fullsize
                  
                  ![Photo Credit James DiPietro]() 


                  Photo Credit James DiPietro


                    View fullsize
                  
                  ![Photo Credit Andy King]() 


                  Photo Credit Andy King


                    View fullsize
                  
                  ![Photo Credit Andy King]() 


                  Photo Credit Andy King


                    View fullsize
                  
                  ![Photo Credit Andy King]() 


                  Photo Credit Andy King


                    View fullsize
                  
                  ![Photo Credit Andy King]() 


                  Photo Credit Andy King


                    View fullsize
                  
                  ![Photo Credit Jon Naugle]() 


                  Photo Credit Jon Naugle


                    View fullsize
                  
                  ![Photo Credit Christine Vaindirlis]() 


                  Photo Credit Christine Vaindirlis


                    View fullsize
                  
                  ![Photo Credit Robert Fisher]() 


                  Photo Credit Robert Fisher


                    View fullsize
                  
                  ![Photo Credit Christopher Drukker]() 


                  Photo Credit Christopher Drukker


                    View fullsize
                  
                  ![Photo Credit Steve Roby]() 


                  Photo Credit Steve Roby


                    View fullsize
                  
                  ![Photo Credit Masa Ricky]() 


                  Photo Credit Masa Ricky


                    View fullsize
                  
                  ![Photo Credit Leonardo Mascaro]() 


                  Photo Credit Leonardo Mascaro


                    View fullsize
                  
                  ![Photo Credit Andy King]() 


                  Photo Credit Andy King


                    View fullsize
                  
                  ![Photo Credit John Watson]() 


                  Photo Credit John Watson


                    View fullsize
                  
                  ![Photo Credit Laura Casotti]() 


                  Photo Credit Laura Casotti


                    View fullsize
                  
                  ![Photo Credit Jon Naugle]() 


                  Photo Credit Jon Naugle
                
               
                        